Recently we have asked Rob, our very own voice over artist, to put together this post on how to set up a home studio for voice over recordings. Rob is not only a great voice talent but he’s also a skilled sound engineer with years of experience behind his belt. If you’re still unsure where to start with setting up your own home studio, read on to find some indispensable tips.
The last year has been very testing for us all, but one positive outcome has been the amount of voice artists setting up a home studio. Some creators have even preferred these 'remote' sessions to travelling to a studio envionment. Artists, engineers and other musical clients have had to work from their home or a remote location, often connecting and collaborating with others through Zoom.
The truth is, you can create a very effective basic recording setup on a relatively low budget. All you need is a bit of careful microphone placement and the use of a few things we all have in our houses. As an engineer, I have assisted dozens of artists in setting up their home studios. I’ll also be answering some of my most frequently asked questions, so read on to find out the answers! I’m going to be taking a look at:
- What hardware you will need
- What software you will need
- Where to setup your home studio
What Hardware Will I Need to Set Up My Home Studio?
To put it simply, you will need to own a computer and a microphone! Some artists prefer Apple MacBooks over Windows PCs (I am one of them) but either will be sufficient. In terms of setting up your home studio, Apple computers are generally simpler, as they are designed to plug and play with most microphones and audio interfaces. PC's on the other hand will often require driver installation for use of external devices, but it’s pretty easy to do and there are plenty of YouTube tutorials out there to assist you.
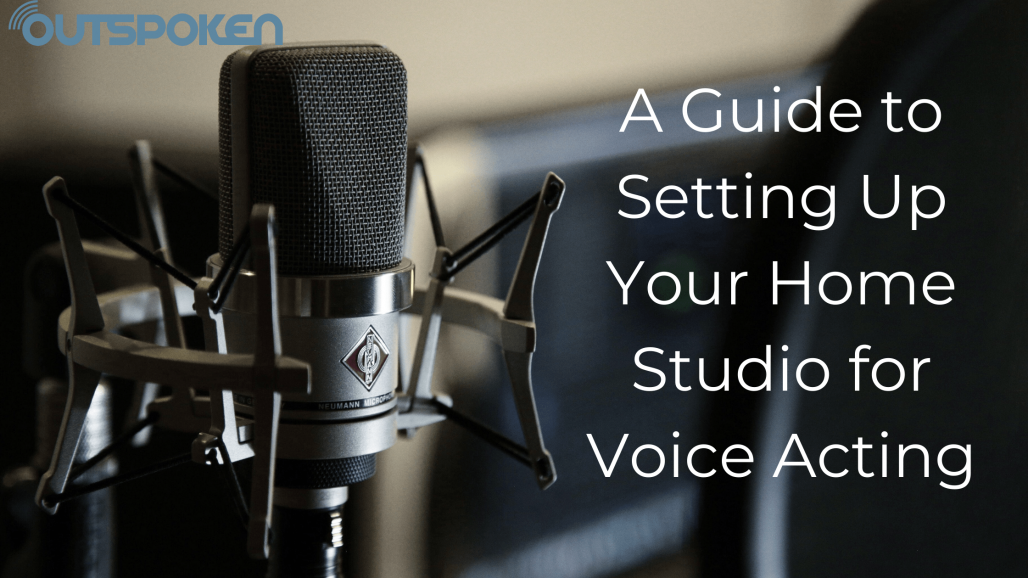
In terms of voice acting, the microphone is most important element to your home studio. For VO you need a large diaphragm condenser microphone, and you can get very good results from around £100 upwards. For most first-time home setups I recommend going down either of the following routes:
Option 1: USB Microphone
These are great for anyone on a budget who wants a simple plug and play option. Essentially, these microphones do not require the use of an audio interface and should work independently on any computer with a USB port. My personal recommendations are:
Option 2: XLR Microphone and Audio Interface
These are undeniably more technical and costly but generally provide greater flexibility and better recording quality. You also have the option of adjusting the audio interface’s gain dial which will yield better results for the voice. For this option you will need to own an audio interface that connects to your computer via USB, and a microphone that connects to the interface via XLR cable. For the interface I always recommend the Focusrite Scarlett range – they are simple to set up and work well without complications! My recommendations for an audio interface include:
Choosing a Microphone
Choosing your first microphone can be intimidating as there are so many out there for you to choose from! Look for a respectable brand, as there are some companies that have been in this industry a long time. You can always rely on these companies to produce microphones which are high-quality, but my personal recommendations would be:
In order to connect an XLR microphone to your audio interface, you will need a male-to-female XLR cable. Then, you will simply have to connect the microphone to the interface. If you’re looking for a high-quality XLR cable, check out the 'No Bull' brand of XLRs on Amazon.
Additional Information
Whether you decide to use a USB or a XLR microphone, there are a few universal tools that you are going to want, to keep your setup professional. You’re going to want to make sure you’ve got the following:
Whilst a pop shield and microphone stand is important, I cannot stress enough the importance of investing in a decent pair of headphones! Far too many voice artists simply use in-ear headphones, but these are not high enough quality for your home studio.
What Software Will I Need to Set Up My Home Studio?
Editing software is one of the most important aspects for your home studio as it is where you will record your vocals. You have tons of options when it comes to these. Those of you using a Mac may be familiar with Garageband, editing software which is a good place to start.
However, it is only capable of recording at a sample rate of 44.1kHz. You don't really need to know what this means, but most clients and engineers will require a sample rate of 48kHz. Here are my recommendations for software that will give you the results you need:
Audacity (free)
Audacity is a great starting point. It's free to use, can record uncompressed 48kHz audio, and works on practically all systems. It also allows you to export your audio files in WAV format, an uncompressed audio format which is most commonly required from audio engineers. There are also plenty of tutorials on YouTube to get you started. However, it can be fiddley to use and is prone to crashing. It doesn't store audio as it records, so a crash can mean a lost recording. You need to regularly save and export to be safe.
Reaper (£30)
Reaper is a significant step up from Audacity and a popular option, acting more as a DAW (Digital Audio Workstation) than a simple audio editor like Audacity. I don’t have much experience using it, but I know it comes with loads of amazing plugins and tools to work with.
Logic (£199)
Logic is a highly praised DAW exclusive to Mac computers. It’s pretty simple to get to grips with and records natively in an AIFF format (another uncompressed format) so would require exporting files to WAV when requested. With the price tag, using Logic as a voice artist is a bit overkill but is a great option if you want to make your own backing tracks too.
What Sort of Space Would Be Good to Set Up a Basic Home Studio?
Now that you know about the hardware and software you need for your home studio, let’s think about where to set it up. You will need a space that will dampen the reflection of the room you are in - bedrooms work great as things such as bedding and curtains will absorb a lot of the resonance. The room would ideally also have low ceilings to avoid any additional reverb or resonance.
My top suggestion on a budget may sound a bit strange but it works - use a wardrobe full of clothes. Follow these steps and you’ll be well on your way to converting your wardrobe into your very own vocal recording booth!
Step 1: Open the doors, drape some blankets over them and back the microphone into the wardrobe so the back of the mic is resting on the clothes. This can be a great way to isolate your microphone from other sounds in the house.
Step 2: Cover any reflective spaces such as mirrors or radiators with blankets and draw the curtains. It’s important to bear in mind that you will likely still pick up undesired audio from passing cars or the neighbour cutting the grass.
Step 3: If you are lucky enough to have a walk-in cupboard or wardrobe, then they make perfect recording spaces. Pin blankets against the walls to dampen the sound and install some LED strip lights so you can see. Something like this “Strip Light” should do and helps add some character to your DIY recording booth!
Step 4: If you have more of a budget, you can also fix foam pads to the wall. You can buy 'acoustic' foam, but this tends to be pricier than it needs to be. High density upholstery foam works best as you can get large squares cut to size.
Step 5: It’s worth noting that whilst the cupboard is a great place to use a microphone, you should not take the laptop inside with you. The fans get very noisy when recording and I have spent numerous sessions trying to treat this out of a recording in post-production! You can ruin a few hours work with this.
How to Edit Your Audio Recordings
Now that you have your hardware, software, and space setup, it’s time to start recording and editing your voice! It’s important to remember that most clients and engineers will require you to export any recorded material as 48kHz 24bit WAVs. Follow these steps and you’ll be editing audio in no time!
Step 1: The best advice I can give is to start on Audacity, watch some tutorials and start playing with it! Don't be scared of it, and have some fun recording into it and cutting things up.
Step 2: Practice recording a few lines of text and then exporting it as a WAV, creating a folder on your desktop or hard drive that you can export your recordings into. Those are the basic skills you need to create files for clients.
Step 3: You'll need to learn how to cut out individual takes and remove slip ups. When you slip up, click your fingers and start the line again. The click will create a big spike on the recorded track that you can easily identify as a mistake. You can then cut the mistake out and stitch the rest of the track together. The more proficient you get you can even start cutting out breaths! “How to use Audacity to Record & Edit Audio” this link is for the beginners to learn this tutorial again.
Additional Tips
To add these steps, there are two more must-know tips to utilize when recording with your home studio. The first is to always check the input is set to your interface or USB microphone. Many machines default to the internal microphone which again will lead to lost hours of recording!
Finally, make sure the gain on your interface or USB microphone isn't set too high. This can result in clipping and distort your recording. Most editing software has an internal visual meter that responds to the loudness of your input. If it's too high, you'll see orange and red lights. If it's staying in the green, you are good to go!
Summary
Overall, I hope my guide has helped you get started on setting up your first home studio! Choosing hardware, software and a space to record in can be hard work, so the information provided here should help you get started. As we have learned, you do not need high-budget equipment and expensive sound-proofing to have your own bedroom studio. Everything you need can be acquired for well under £250 as long as you already have a laptop or computer. To summarise, here’s a checklist for everything that you will need:
- A USB or XLR microphone (recommended)
- An audio interface (essential to record XLR microphones)
- An XLR cable (see above)
- Audio editing software or a DAW (such as Audacity or Logic)
- A cupboard space (or makeshift recording booth)
- A pop-shield
- A decent pair of headphones
Now, get out there and give it a try! I hope you remember my guide to setting up your home studio when you send your first casting or finish recording for your first remote voice acting client!
.png&width=420&zc=1)

Comment